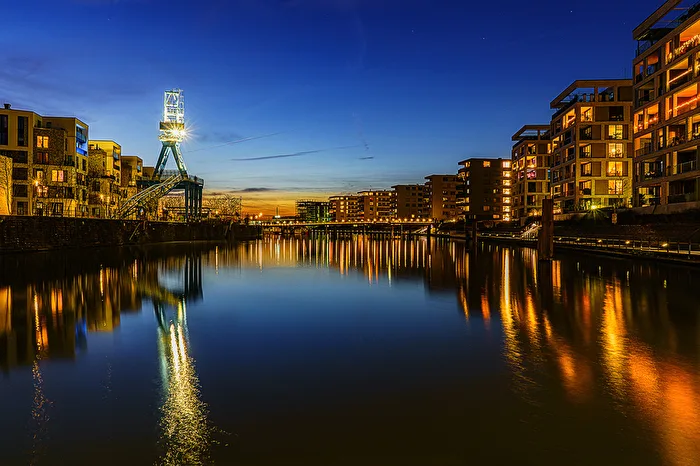
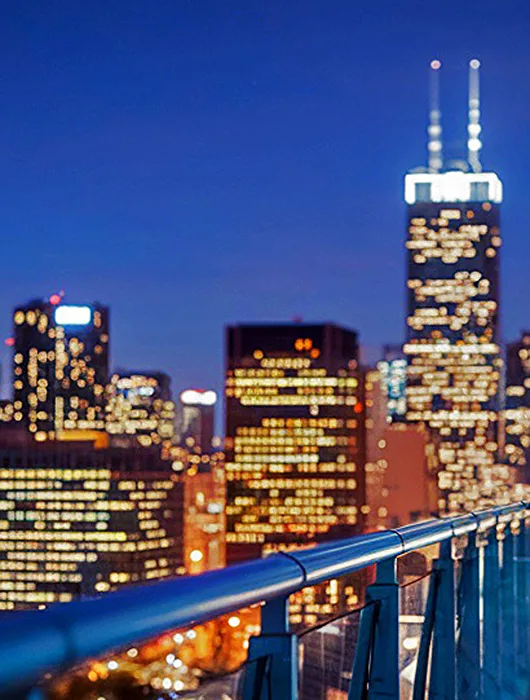
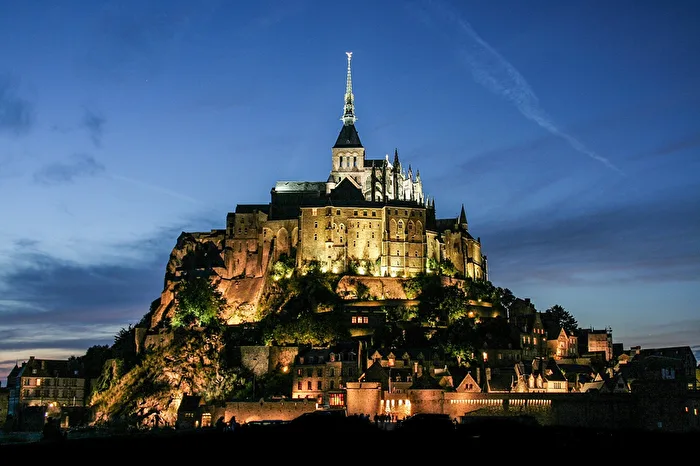
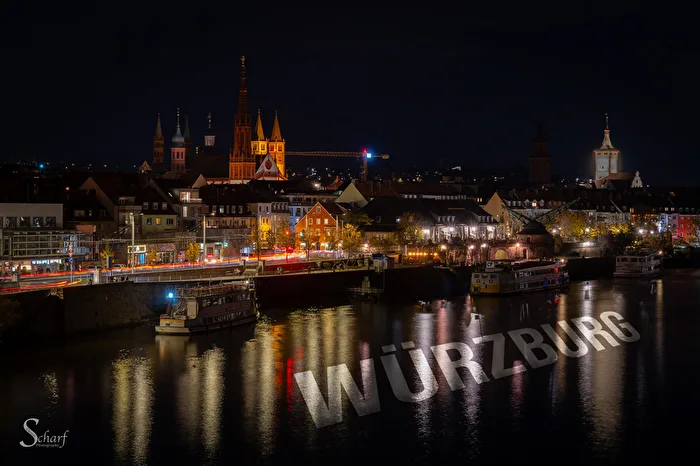
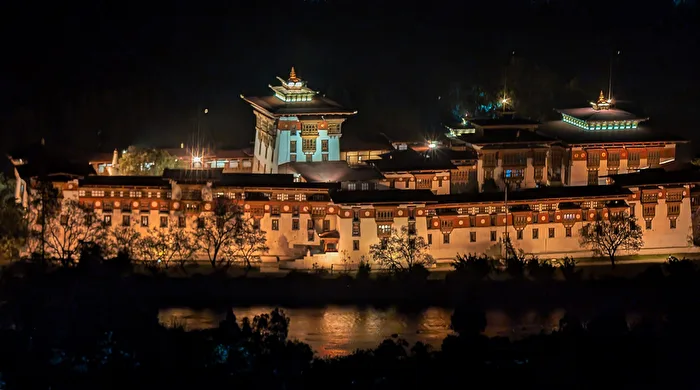
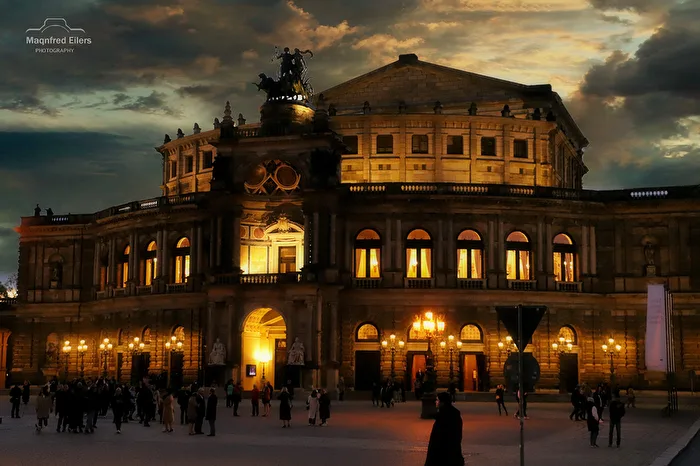
City Lights
Capture city lights – turn night into day with sparkling lights and urban charm! City lights not only offer fantastic subjects for your camera but also transform dull streets into vibrant works of art. And honestly: “To take a photograph means to hold one’s breath when all faculties converge in a fleeting moment of reality,” as Henri Cartier-Bresson once said – and when better to capture that than on a city night?
Photographing City Lights – How to Capture the Night’s Sparkle
Night photography (long exposure) of city lights is one of the most exciting yet challenging photography styles. The limited dynamic range, correct exposure, and motion blur require patience and a trained eye. Don’t worry—impressive results are achievable even with a modern smartphone thanks to night mode and HDR (High Dynamic Range). For those wanting to dive deeper, a DSLR or mirrorless camera with a tripod and remote shutter release is ideal for precise long exposures. Optimism and a spirit of experimentation are your best tools here!
Creative Inspiration
These unique ideas will help you get the most out of your city lights shots:
- Use Reflections: Find puddles or glass facades to turn your shot into a mirror image of the sparkling city lights.
- Bokeh Magic: Experiment with a wide aperture to create enchanting bokeh effects (blurred light points)—perfect for romantic moods!
- People and Lights: Include passersby walking through light sources to achieve dynamic motion blur effects.
- Light Painting: Use passing cars or trams to paint creative light trails and effects into your image.
- High Vantage Points: Seek out viewpoints or bridges to capture the entire sparkling cityscape as an impressive panorama.
Technical Inspiration
Here’s how to nail technically perfect city light photos:
- Keep ISO Low: Use a low ISO setting to minimize noise in your night shots.
- Master Long Exposure: Work with shutter speeds between 10 and 30 seconds to create vibrant light trails.
- Use a Tripod: Essential for night photography, as even the slightest movement can cause blurry images.
- Manual Focus (MF): Set focus manually since autofocus systems often struggle in the dark.
- Remote Shutter or Timer: Use a remote shutter release or your camera’s timer to avoid shakes when pressing the shutter.
Post-Processing Inspiration
Give your city light shots the finishing touch with these editing tips:
- Creative Coloring: Enhance the night’s blue tones and the warm hues of the lights to boost contrast and create a dramatic atmosphere.
- Enhance the Lights: Use tone curves or levels in your editing software to emphasize the sparkle of the city lights.
- Reduce Light Pollution: Selective editing tools can tone down distracting background lights and make your main subject stand out more clearly.
- Targeted Vignetting: Apply a gentle vignette around the edges to draw the viewer’s eye toward the sparkling lights at the center.
- Digital Double Exposure: Experiment with overlaying two photos of the same scene to create unusual and fascinating light patterns.
Let’s Get Started!
Now it’s your turn! Grab your camera (or smartphone) and enjoy creatively exploring the city at night. Remember: Photography is your personal expression, and these tips are just inspiring suggestions—not rules! If you smile while shooting, it will definitely show in your photos. Visit daily and get inspired by other photographers. Who knows, you might soon be the shining star of this month’s contest. Thank you for your passion and have fun capturing those magical moments!